
Basic screed adjustments
Correct adjustment of the screed before paving begins prevents unnecessary wear.
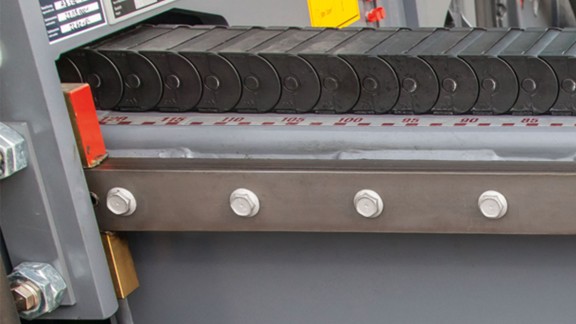
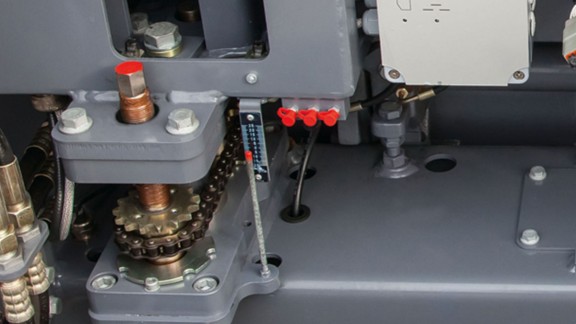
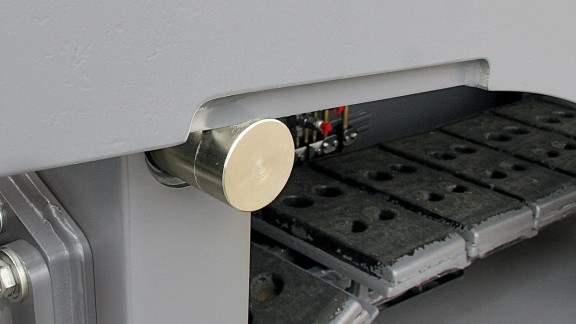
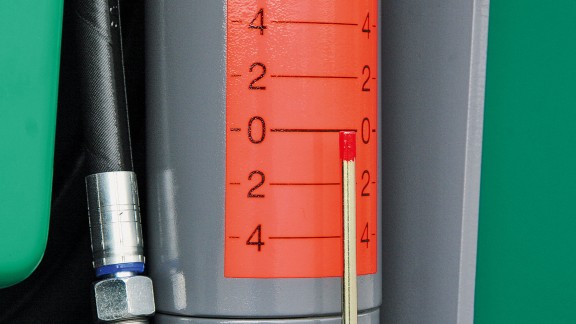
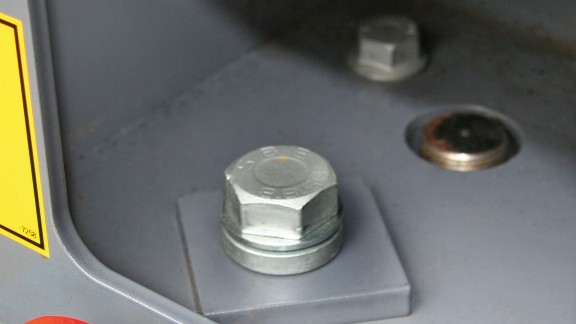
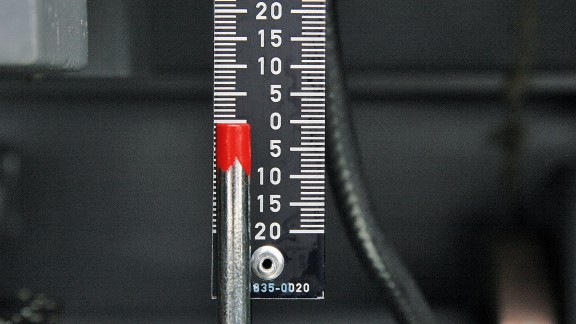
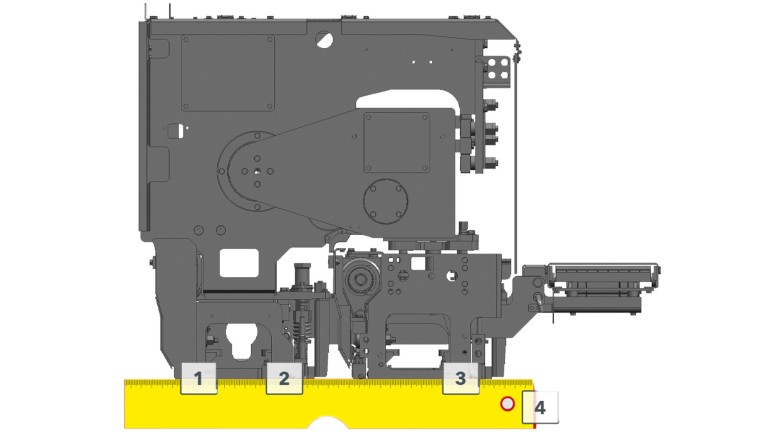
Click on the gallery to see the procedures for the various screed components.
Setting the planing angle of the extending screed
The planing angle must be correctly set on both the inner and outer edges of the extending screed.
After setting the planing angle, please tighten the clamping screw for height adjustment again. Now check the settings again.
Adjusting spindles
Before carrying out the adjustment of the adjusting spindle, the play of the threaded bush (5) should be checked with tightened locking nuts.
Always adjust all four spindles of each extending screed.
Tampers
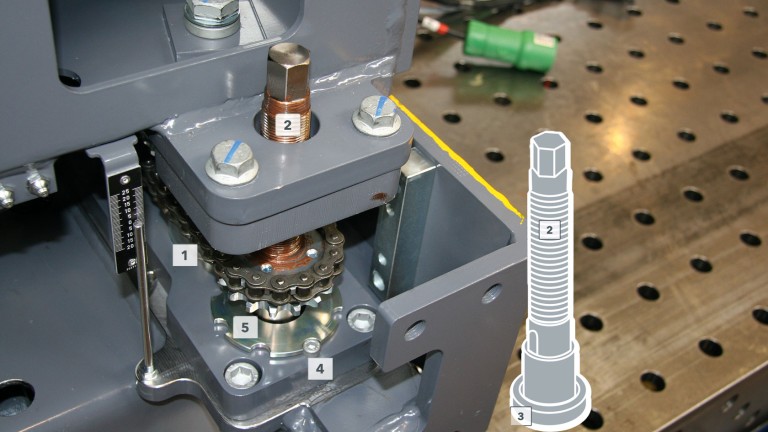
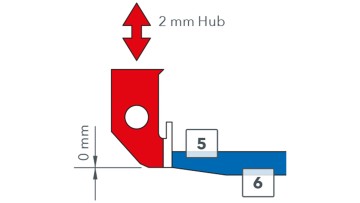
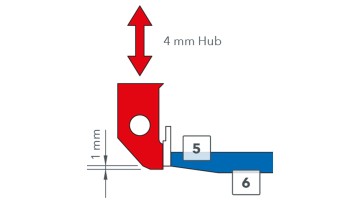
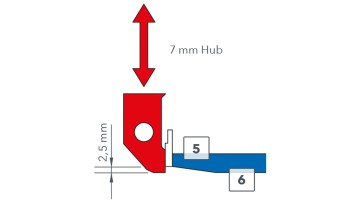
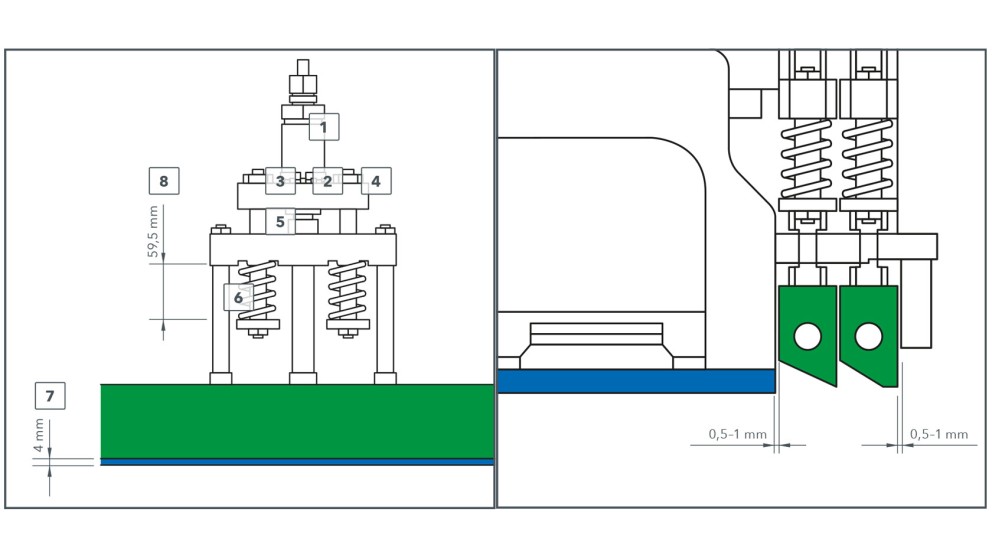
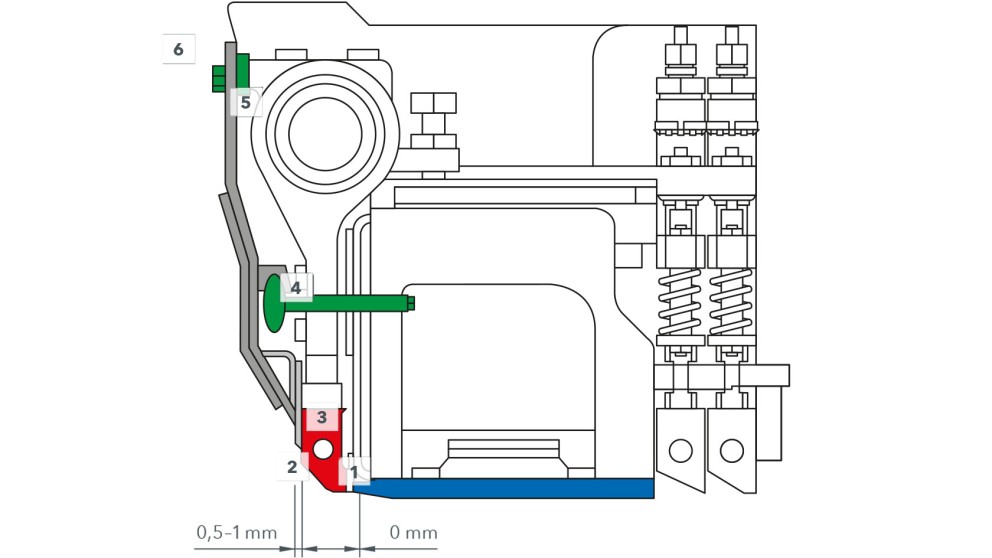
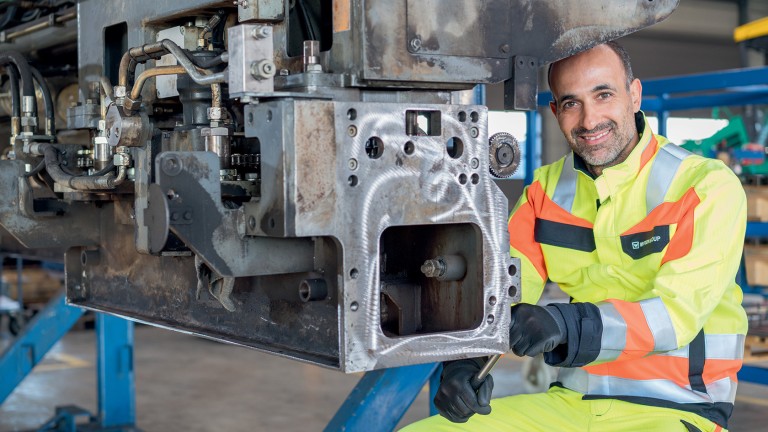
The tamper must always have the same stroke across the entire paving width. The stroke can be altered by twisting the eccentric bush on the drive shaft of the tamper. This can be carried out easily from behind when the paver is being moved from one section to the next. In contrast, adjusting the lower reversal point of the tamper bar in relation to the screed plate, takes a little more time and effort. First of all, the metering gates must be removed to access the bolts that need to be removed from all the shaft mounting brackets. After removal of the locking nut (2), the tamper height can be altered with the bolt (1). The height to be set depends on the stroke setting of the tamper.
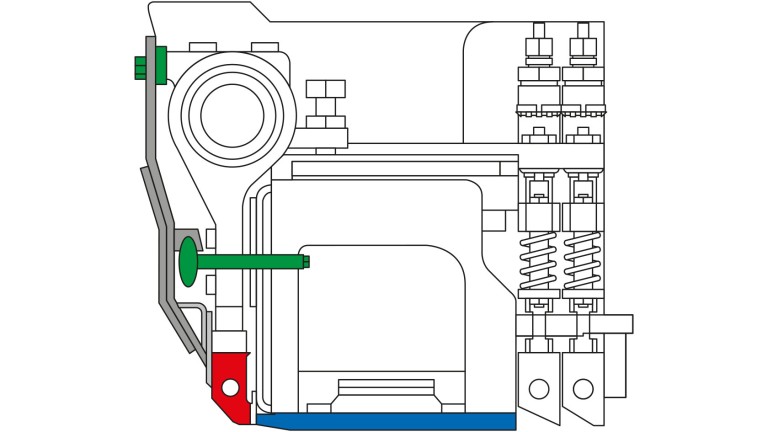
The tamper should be set flush with the screed plate at a stroke of 2 mm (manual check by touch).
