Conveyor

Conveyors from VÖGELE

The enormous range of original spare and wearing parts for conveyors available from VÖGELE enables you to replace the entire mix conveying system.

Floor plates - material hopper

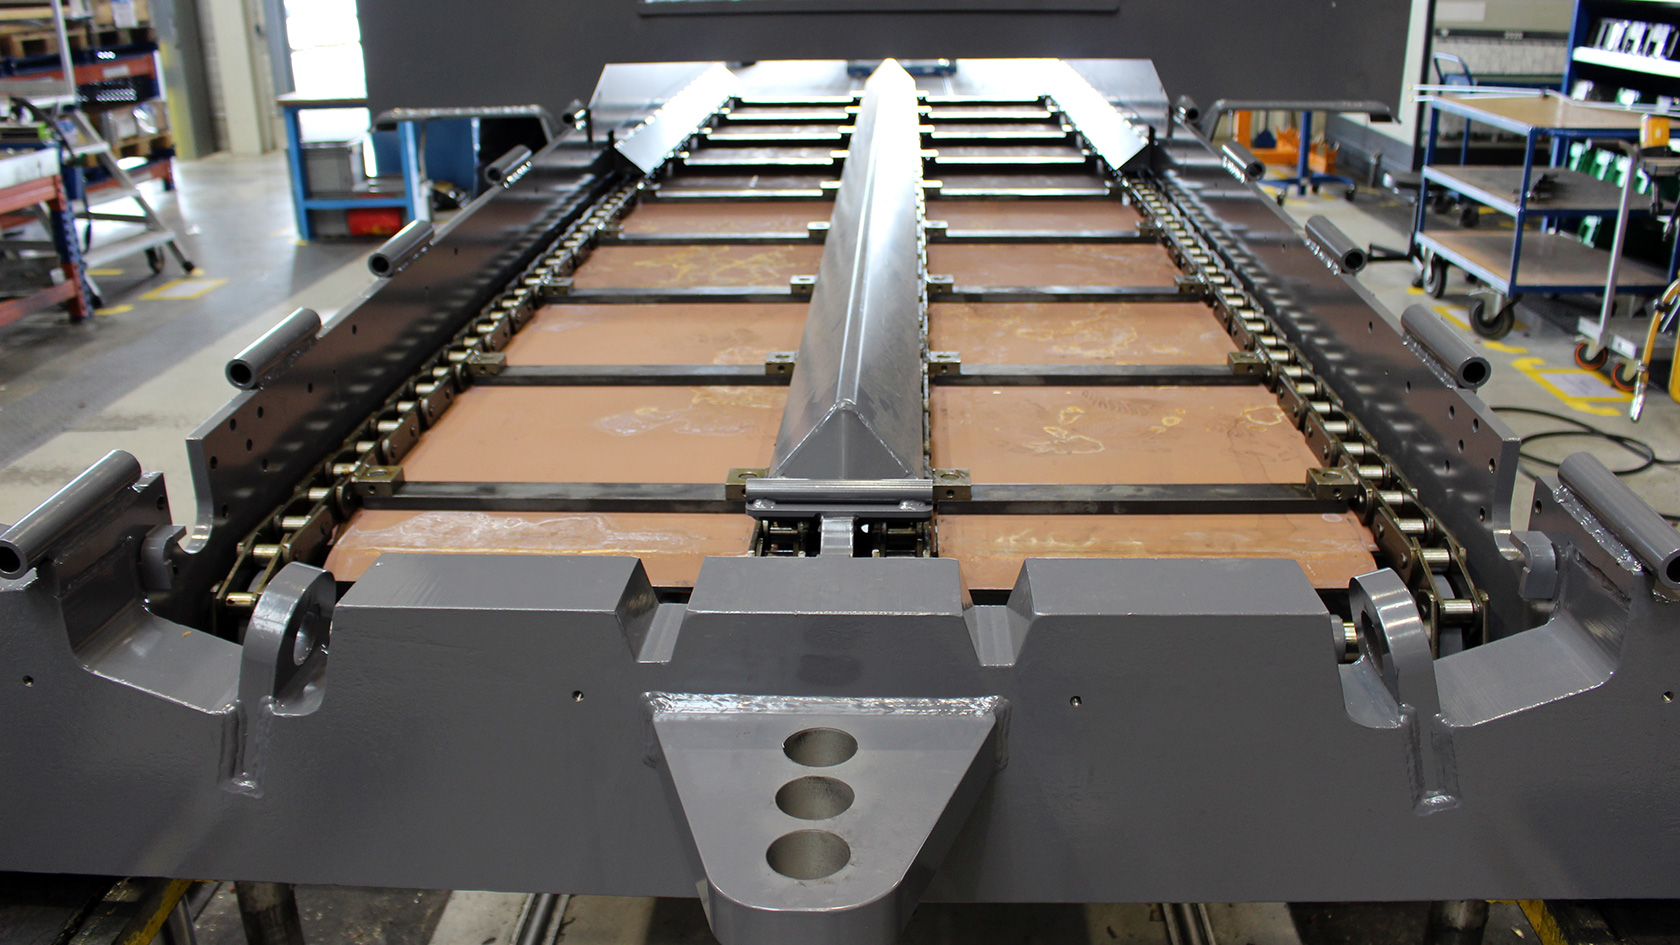
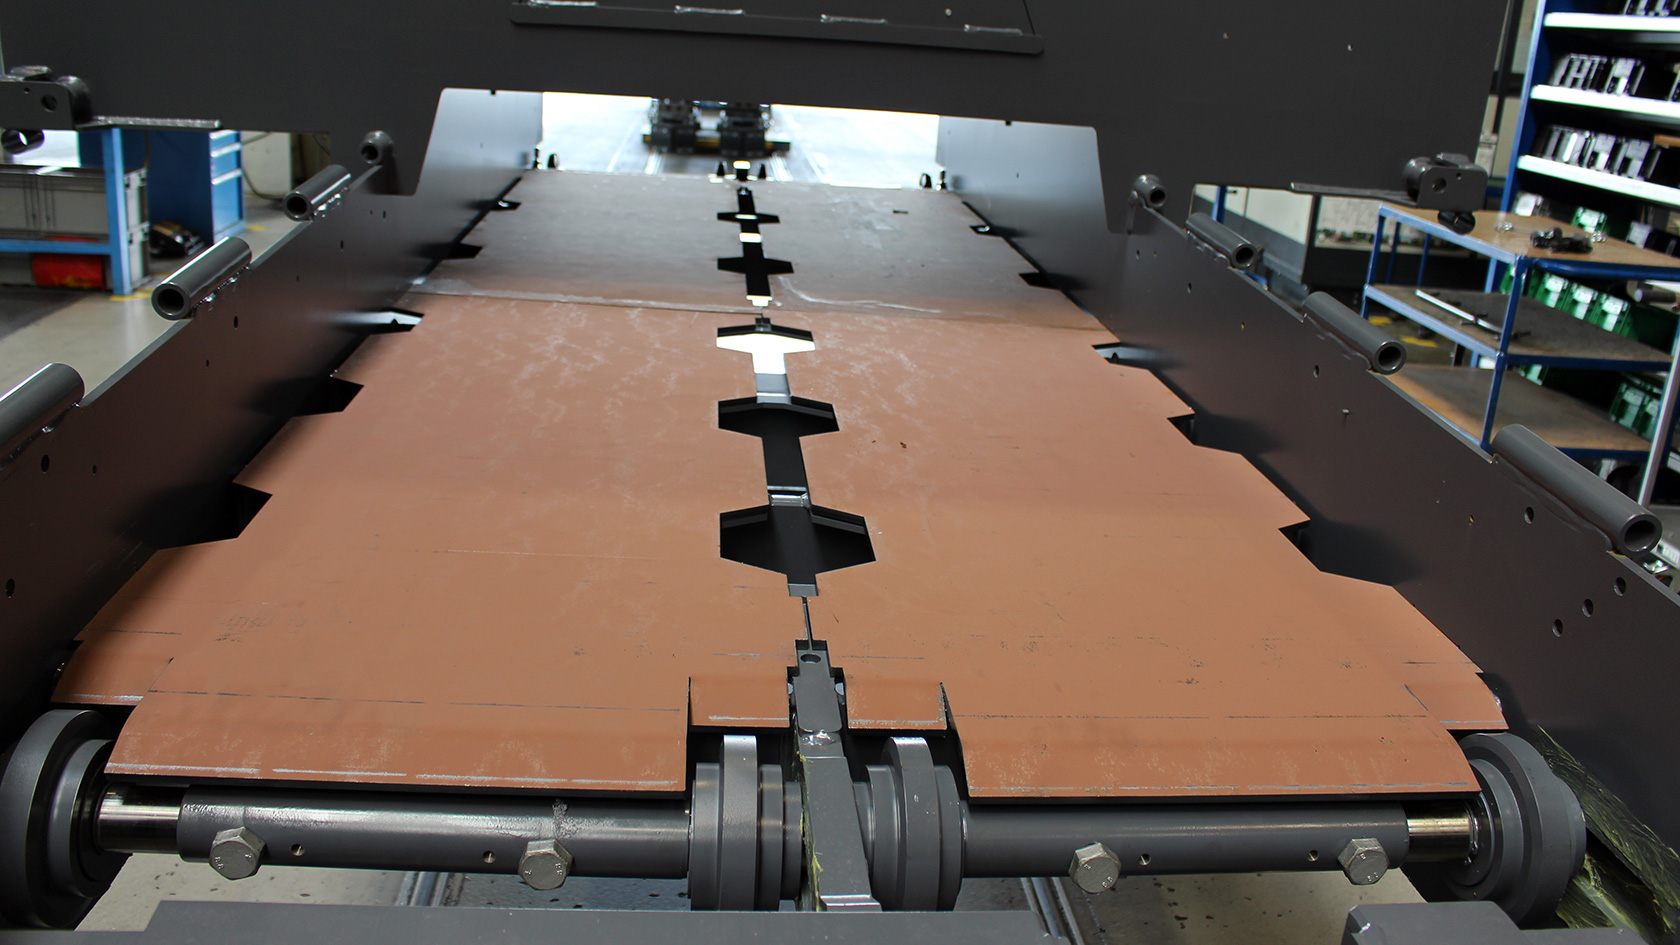
The floor plates ensure ideal conveying of the paving mix from the hopper to the rear part of the machine.

The outer (edge guard) and middle plates (centre guard) protect the conveyor chains from the mix and thus ensure long service life of the conveyor chain. Due to their compact dimensions, the MINI Class small pavers require only one conveyor chain.

Floor plate in direction of travel (rear, right)
Centre guard, front
Edge guard, rear
Centre guard, rear
Floor plate, front

Heavy-duty kit

(optional)

VÖGELE offers the heavy-duty kit as an optional accessory.

We recommend the use of the heavy-duty kit when the paver is frequently used for paving road beds with mixes such as CTB. This counteracts increased wear on components due to the particular properties of the mix.

The heavy-duty kit contains:

  • Cut-outs in the conveyor floor plate
  • Longer and more strongly bevelled floor plate
  • Wear-resistant material for the return rollers / lower conveyor cross member.
  • Auger blade with smaller diameter
  • Edge and centre guards closed at bottom
  • Reinforced connecting pins on the conveyor chains
  • All-round welded conveyor rod mounting lugs
  • Additionally bolted wear plates in the conveyor tunnel
Show more Show less

Conveyor drive shaft

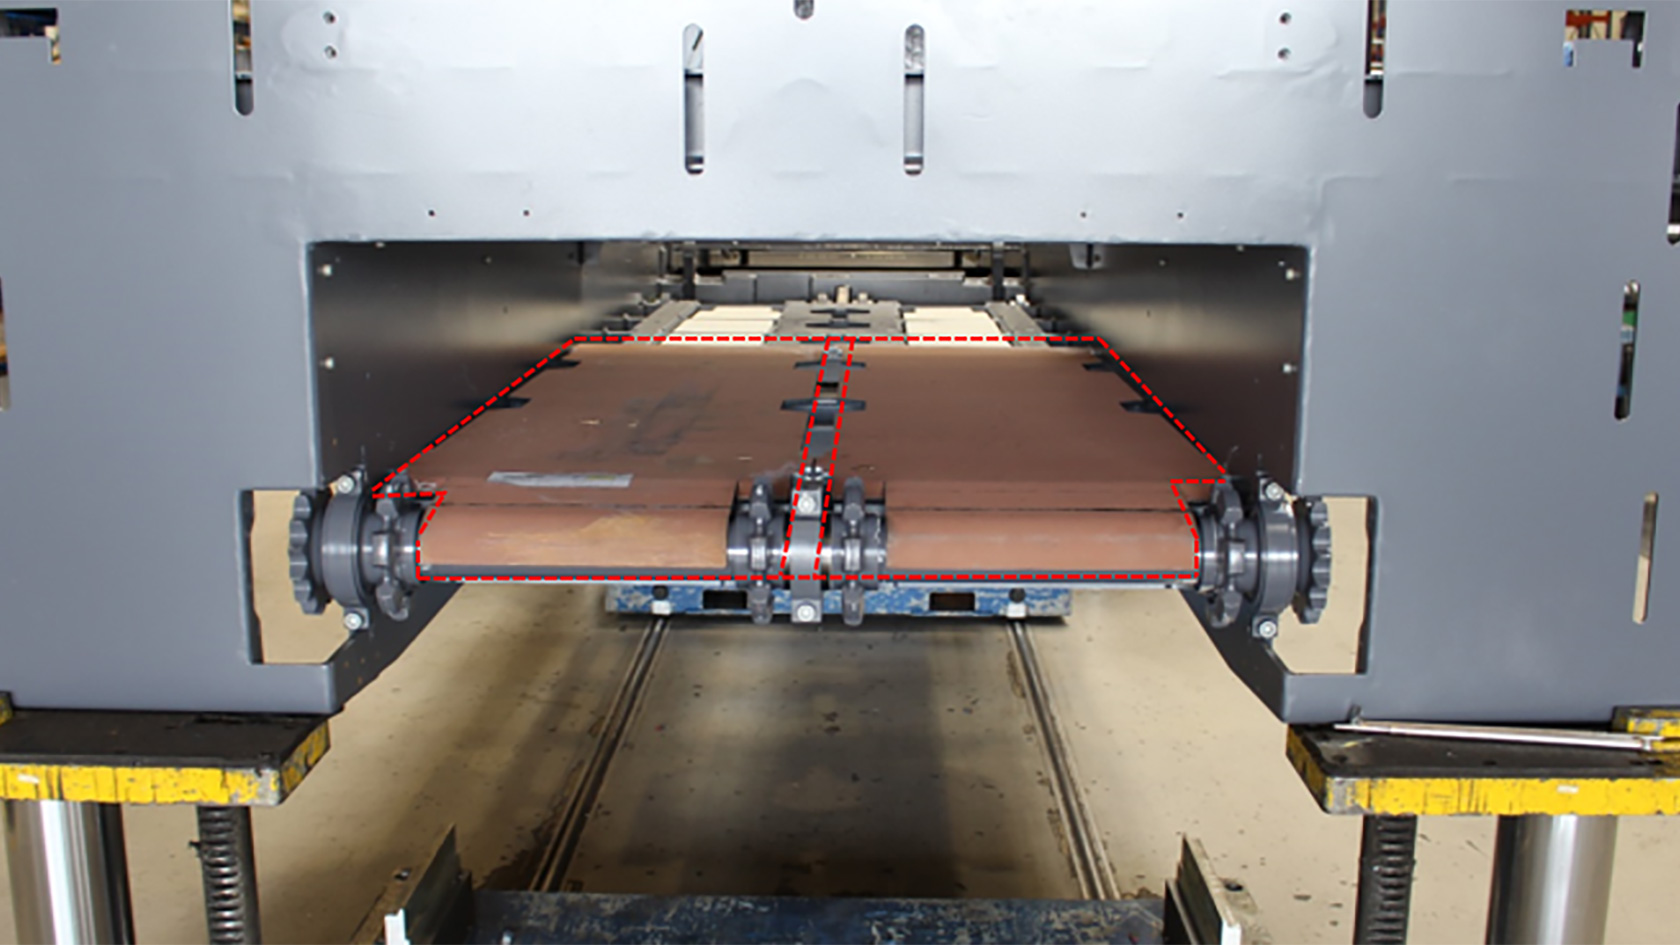
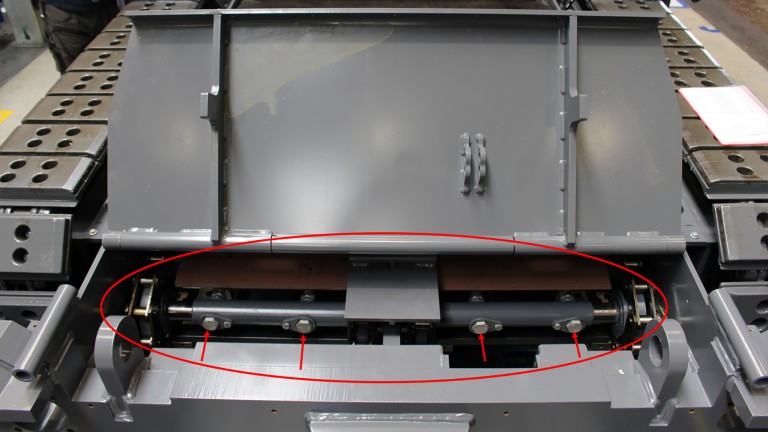
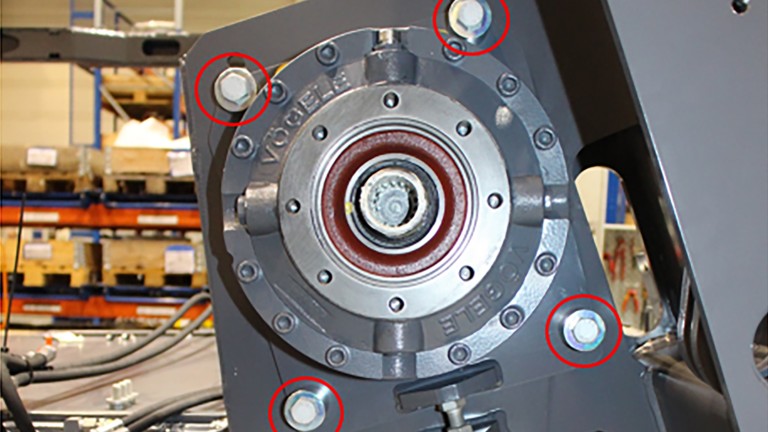
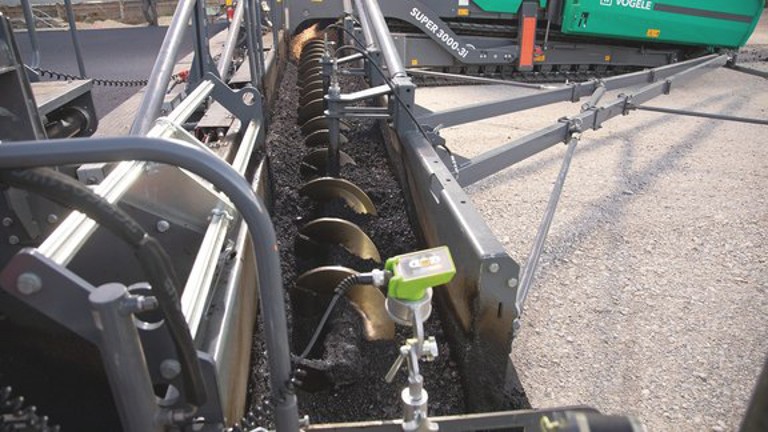
The conveyor drive shafts are designed and constructed for efficient and powerful material transfer.

Manufactured from heavy-duty material with minimal tolerances, the drive shafts achieve extremely high utilisation rates, even in continuous operation.

Conveyor return roller

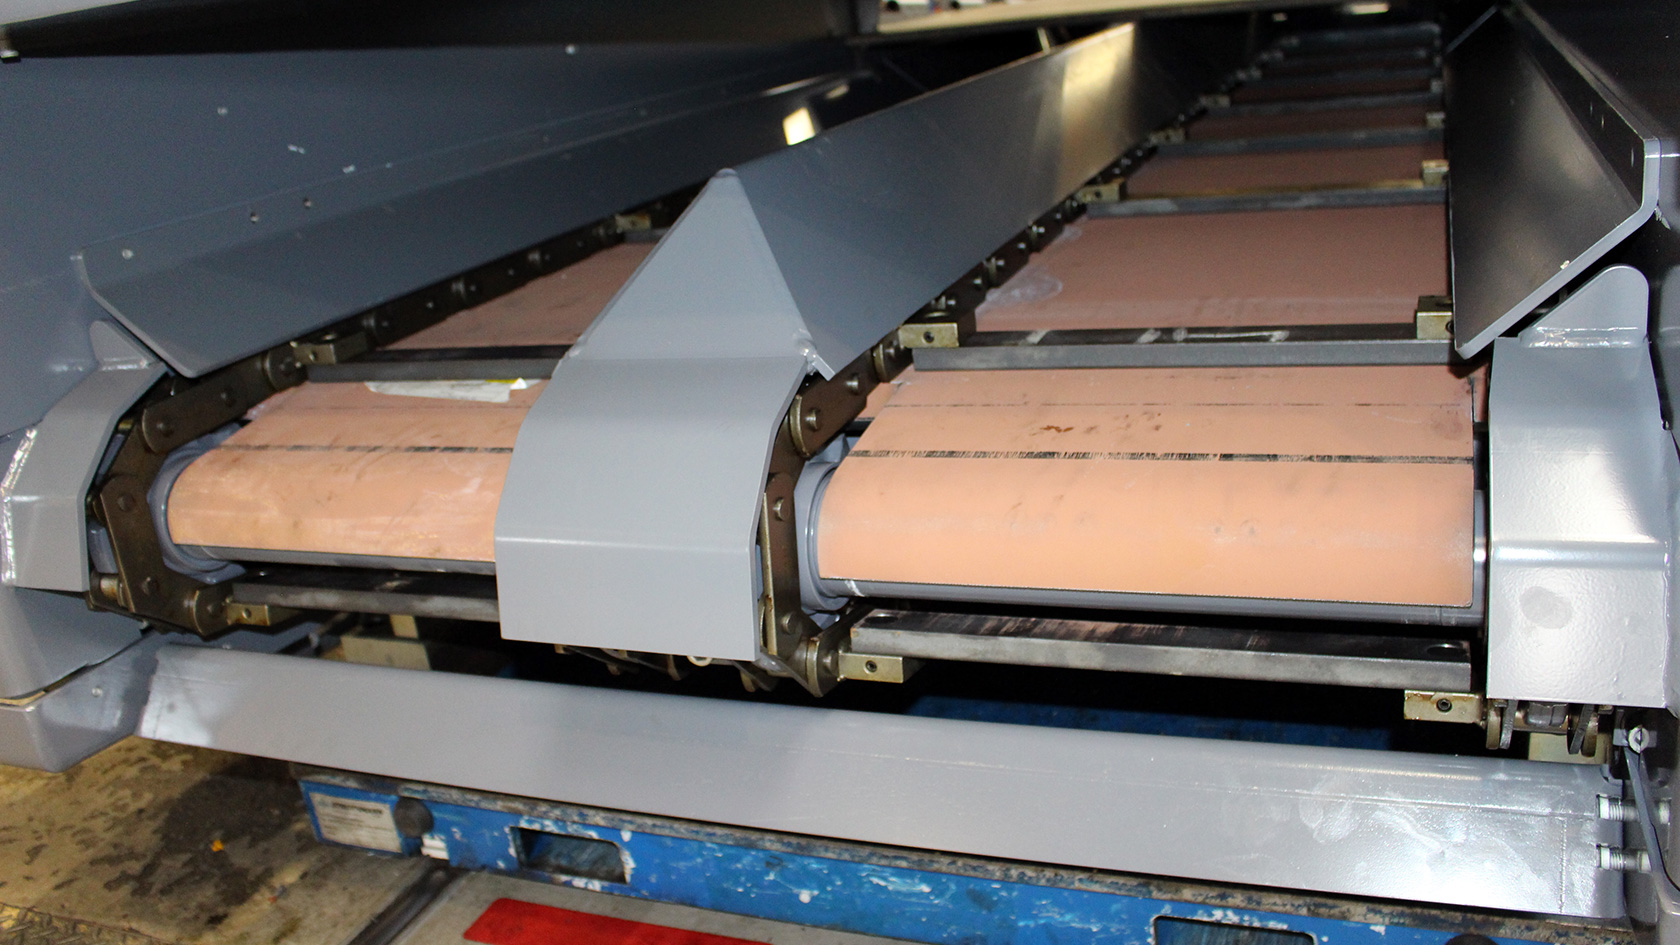
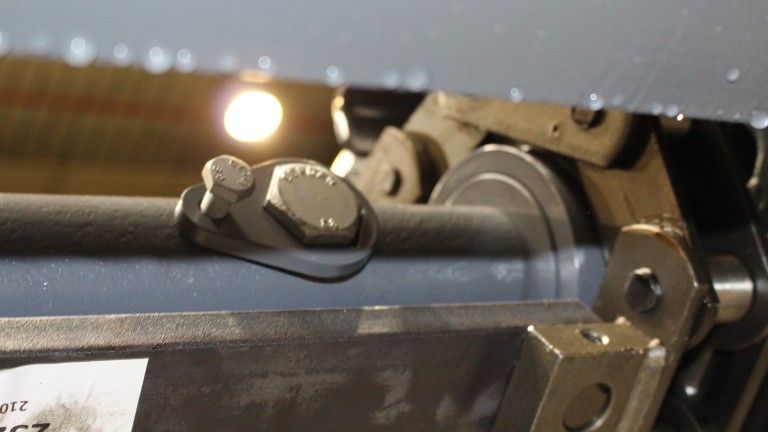
The task of the return rollers with roller bearings is to guide the conveyor chain at the front of the machine and turn it downwards for return to the drive sprocket.

The bearings of the return rollers consist of encapsulated and sealed ball bearings and are maintenance-free.

Conveyor maintenance

  • Clean after every job.
  • Check the following parts for wear: floor plates, conveyor covers and conveyor chains.
  • Check the tension of the conveyor chains and adjust if necessary. Incorrectly tensioned conveyor chains can lead to excessive wear.

Conveyor chain

The conveyor chain is the key component of the conveying system. It consists of two chains connected to one another by conveyor chain rods.

The conveyor chain transports the asphalt mix from the material hopper to the paving screed.

The conveyor chains can be reversed to prevent mix falling out of the rear of the conveyor tunnel and soiling the ground when relocating the machine. When this is done, the mix is transported a short way back to the material hopper.

Setting the tension of the conveyor chain

Checking the tension of the conveyor chain

For ideal conveyor chain tension, the distance between the lower edge of the conveyor chain and the lower edge of the chassis must be set to 10 mm If it is less, the chain is too tightly tensioned – if it is more, the chain will be too slack. Incorrect chain tensioning can cause a reduction of the expected machine utilization rate.

The check-point at which the measurement should be made should be in the middle, between the two wearing plates or cross-members, and should be the deepest point the chain reaches to in this area.

Th conveyor chain can be tensioned with the aid of the setting screws located on the return rollers of the conveyor chains (marked here with arrows).

1. Raise the hopper front
2. Remove the lock washers of the setting screws
3. Turn the setting screws until the correct chain tension is achieved.

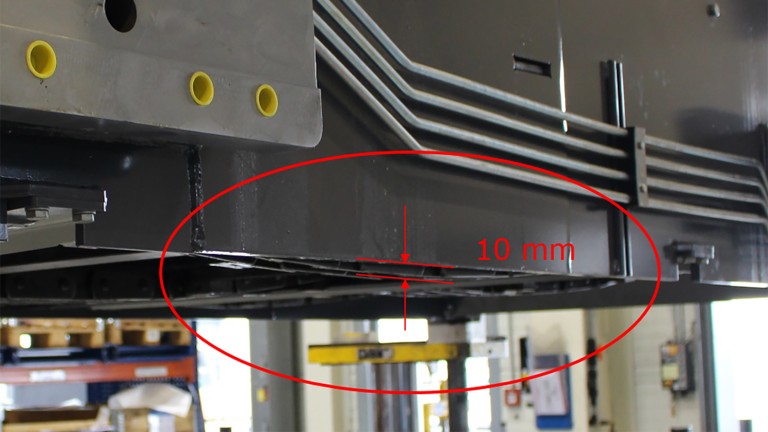
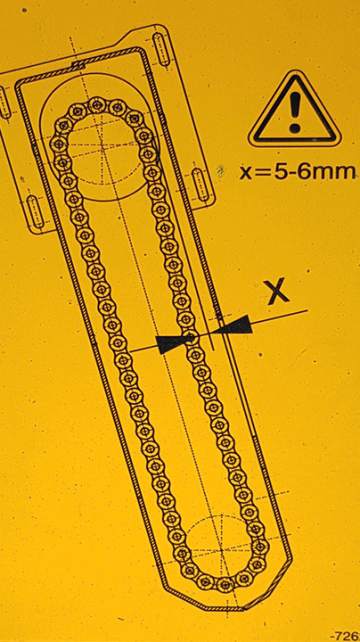
Regularly check whether the conveyor chain is correctly tensioned and adjust it if required. A correctly tensioned conveyor chain may not be under tension on its loose side at any time during movement. Excessively high tension of the conveyor chain causes irregular running or knocking.

Adjust the setting screws to increase or relieve the tension on the conveyor chain

Increase chain tension/tighten: Turn the setting screw anti-clockwise
Decrease chain tension/slacken: Turn the setting screw clockwise

The setting screws are fixed in place by a lock washer to prevent loosening. This is simply placed over the setting screw and fixed in position with a locking screw.

Conveyor drive chain

Setting the chain tension

Step 1: First remove the drive chain cover plate and then unscrew the four fastening screws on the bracket, but do not remove them completely.

Step 2: Release the counter nut and turn the setting screw until the correct chain tension is achieved:
• Turn the setting screw anti-clockwise to tension the chain.
• Turn the setting screw clockwise to reduce the chain tension.

Step 3: When the tension is set correctly, re-tighten the counter nut and the bracket fastening screws.

Step 4: You can refit the cover plate when both the left and right side drive chains have been checked and correctly adjusted.

Setting screw
Lock nut

Check the chain tension in the measuring area under the cover plate: It must not be possible to press the drive chain in by more than 5 - 6 mm by hand.

The correct settings for all components are important for achieving operational readiness, minimising wear and preventing unnecessary downtimes.

VÖGELE feed of mix

Order and buy original parts for VÖGELE feed of mix online.

Go to VÖGELE feed of mix
Find out more Material conveying
Return to overview