Wear check

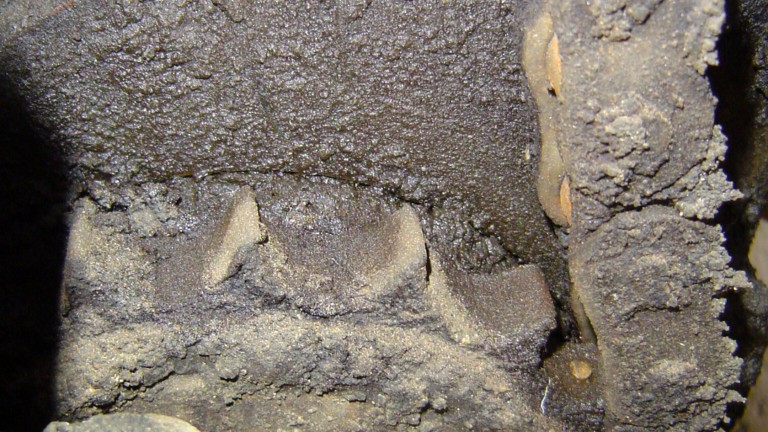
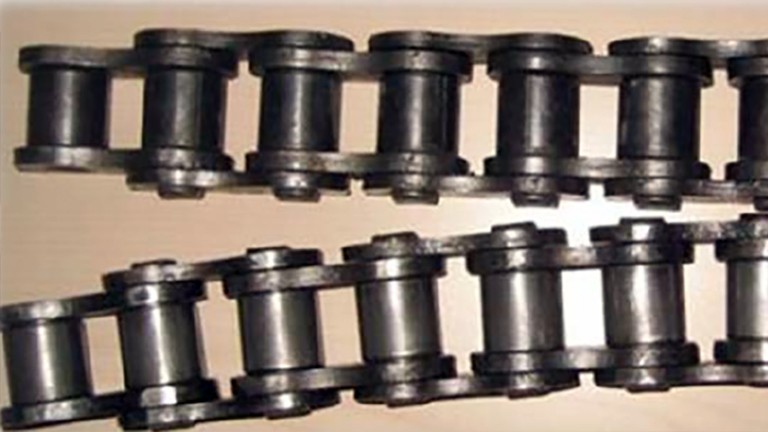
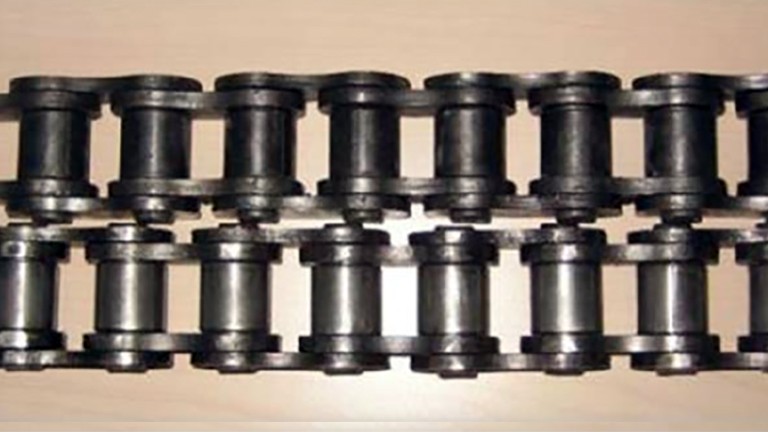
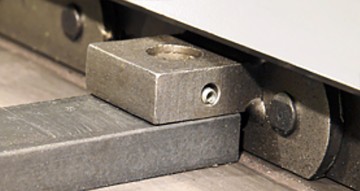
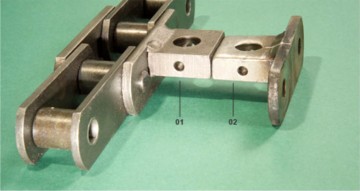
Wear is caused by the pressure between two elements in contact with one another (e.g. between the mix being paved and the conveyor) when these elements move relative to one another. In such cases, friction detaches small particles from the surfaces of both elements.

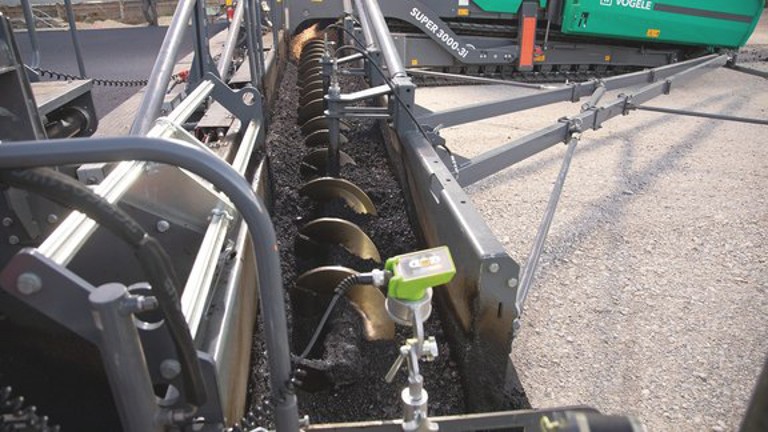
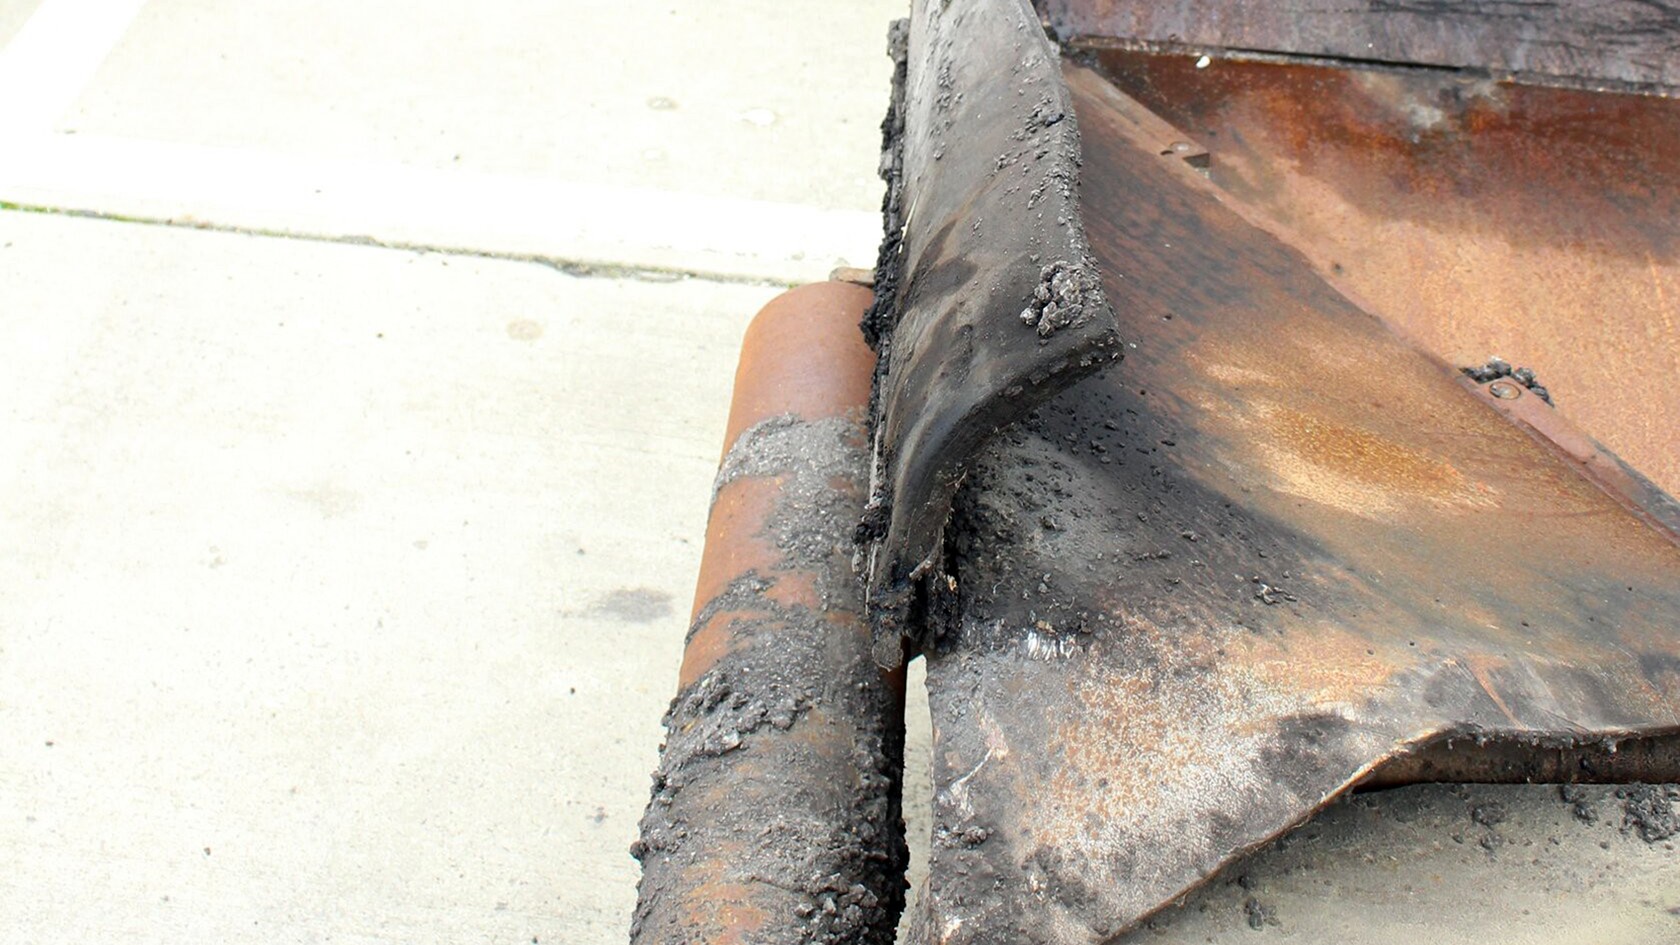
How can wear be avoided or prevented? Contamination with dirt increases wear: Abrasive materials grind material away at all points of contact and drastically shorten the service life of components. Regular maintenance and cleaning is essential for maximising the service life of components.

Extending service life means:

  • Ensuring that a thorough daily cleaning regime is in place and observed (before and after paving).
  • Ensuring that regular checks of all wearing parts are conducted at appropriate intervals to avoid and prevent wear and damage to other components.
  • Ensuring that regular maintenance and checks on the screed settings are carried out.

In the following, we tell you how to minimise wear and identify it in good time.

Hoppers and conveyors
Hopper wings
Rubbers

How to replace damaged or removed rubbers on the inlet flap and the hopper fronts.

Welding seams

Inspect welding seams on the hinge between the hopper wall and the frame for cracking and repair any cracks you find.

Underside of the hopper wall.

Inspect the weld between the holder for the piston rod of hydraulic cylinder and the hopper wall for cracks and damage.

Floor plates
Run-in floor plate

Run-in grooves caused by the conveyor chains in the vicinity of the running surface / contact surface, reduction of the plate thickness through abrasive wearing as a result of mix conveying.

Run-in floor plate

Flanks of the conveyor chains work themselves into the floor plates.

Consequence: Washout on the floor plate.

Measurement of floor plate thickness

Measuring plate thickness with the aid of an ultrasonic measuring device, classification of the wear rate by means of a table.

Edge and centre guards
Worn edge guard

The edge guard is worn down. The consequence:

• The conveyor chain is no longer protected against the mix.
• The mix accumulates between the chain links and is transported with them.
• The mix ultimately sticks to components such as the drive shaft sprocket when it cools and hardens
• Increased wear, reduced utilisation rates

Worn centre guard

Increased wear in the vicinity of the centre guard, as more and more material accumulates there and is transported. Excessive wear on the centre guard can lead to holes in the plates at the side.

The consequence: see wear on edge plates

Conveyor drive chain
Drive chain condition:

Checking the chain

• Check the chain links
• Re-tension the chain if necessary
• If it can’t be tensioned any more: Replace the chain and the drive sprocket

Check the drive sprocket

• Condition of teeth: sharp, broken tips or missing
• Check the sprocket for damage, e.g. such as cracks on the flanks

Elongation of the drive chain

Elongation of the drive chain can be identified by checking how far the setting screws are screwed in.

TOP: new drive chain
BOTTOM: worn drive chain
• Chain links are elongated, causing lengthwise stretching of the chain
• No longer any positive connection between the chain and the drive sprocket

Lateral chain play

Chain play can only be determined after removing the chain

• TOP: new, intact drive chain
• BOTTOM:
worn drive chain
• Individual chain links are worn
• Increased lateral play in the direction of the chain flanks
• The chain no longer possesses the required stability

Conveyor tunnel – tunnel plates

Increased wear on tunnel plates begins when the feed rate or speed of the conveyor (too high), and the speed of the auger (too low) are not ideally matched to one another.

The wear becomes visible in the form of erosion in the rear section of the conveyor tunnel. The cause of this is a pile-up of mix in the rear part of the conveyor tunnel.

Conveyor drive shafts

Typical indicators of wear on drive sprocket teeth are:

  • Sharp teeth on the drive chin sprockets.
  • Check the play in the bearings!

Return rollers

Assessment of mix feed performance:

  • Check whether the running surfaces of the return rollers are worn.
  • Remove excessive dirt accumulations and adhering residues.
  • Make sure you are using right and consistent tensioning of the conveyor chain.
  • Check the play of the return roller bearings
  • Check the axles of the return rollers for damage (bending):

Conveyor chain

Potential causes of conveyor chain wear:

  • Chain asymmetry due to incorrect tensioning or elongation.
  • Weakening of the connection between the conveyor bar and the conveyor chain.

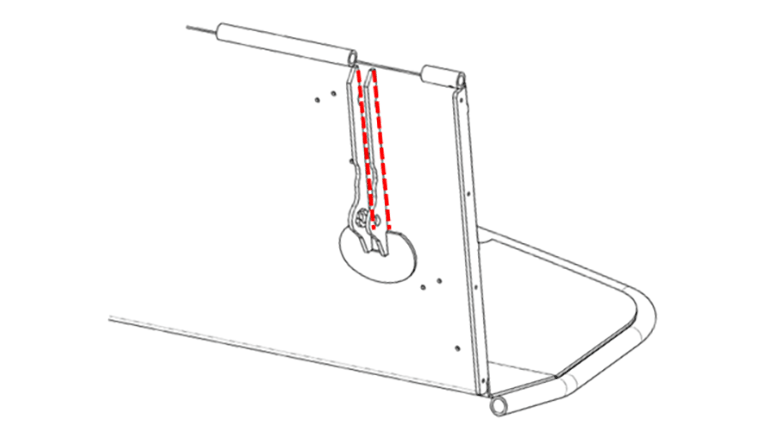
This could lead to loosening or detachment of the conveyor bars This would ultimately lead to an overall loss of mix conveying performance.

Please observe the following advice:

  • Exchange conveyor chains in good time. Doing this avoids chain failure and the subsequent extreme effort involved in manual emptying of the hopper.
  • Always exchange chains and sprockets at the same time.

Transverse dpwel pin in the holder of the conveyor bar in the conveyor chain

Holder for conveyor bar on the conveyor chain – new [01] // worn [02]

Worn conveyor bars

• Decrease in mix conveying performance
• The complete conveyor chain must be replaced

Asymmetry between conveyor chains

• Inconsistent chain tensioning or chain elongation

Worn fastening lug:

• Conveyor bars can work free and be lost.

Missing conveyor bars

• Conveying performance reduced and inconsistent.

Conveyor chain – crossbar on the machine underside
Crossbar in as-new condition

It prevents excessive sagging of the conveyor chain.

Worn crossbar

Threatens to break off and be lost.

Missing crossbar

Causes the conveyor chain to sag down to the ground.

VÖGELE feed of mix

Order and buy genuine parts for VÖGELE conveyor units online.

> VÖGELE feed of mix